오랜만에 python 으로 프로그래밍을 하게 되었습니다. 따로 파일을 사용하고 있지 않아 vim을 활용하여 개발을 진행하고 있었습니다.
평소 java로 intellij를 활용하여 작성하다 보니 무엇인가 부족한 느낌이 들더군요. 그래서 vim을 ide처럼 활용할 수 있지 않을까 하여 그 방법에 대해 작성해 보도록 하겠습니다.
클 줄기는 아래의 YouTube 영상을 참고했습니다만 Vundle이 아닌 vim-plug를 사용했습니다.
1. vim plugin manager 설치하기
Pathogen, Vundle.vim, vim-plug 이렇게 세개가 있는데 왼쪽부터 예전 버전이라고 생각하시면 되겠습니다.
저 역시 처음에는 Vundle.vim을 설치했었는데 python 자동완성 기능 설치가 지원되지 않아 plug-in으로 수정했습니다.
Vundle.vim과 plug-in에 대해 궁금하시다면 아래 링크에서 차이점을 자세히 서술해 놓아서 참고해 보시면 됩니다.
https://vi.stackexchange.com/questions/22393/multiple-plugin-managers
이 블로그는 Vunle.vim 설치 방법 역시 작성하지만(
삽질을 기록하기위한용도인건 안비밀...) 자동완성을 사용하지 않으시려면 굳이 설치하지 않으셔도 됩니다.(버전업이 오랜기간 이루어지지 않았으니 사실상 plug_in으로 넘어간 것과 같습니다.)
Vim-plug을 위한 사전작업(mac)
Yarn 설치
brew install yarn명령어로yarn을 설치해 줍니다.node 설치
brew install node명령어로node를 설치해 줍니다.
vim-plug 설치
코드 자동완성을 위해 설치해야하는 vim plug manager 입니다.
https://github.com/junegunn/vim-plug
저는 mac에 일반 vim을 사용하고 있기 때문에 아래의 명령어를 입력해 주었습니다.
curl -fLo ~/.vim/autoload/plug.vim --create-dirs \
    https://raw.githubusercontent.com/junegunn/vim-plug/master/plug.vim
설치가 끝난 후 .vimrc 파일에 하단의 코드를 붙여넣습니다.
call plug#begin()
" The default plugin directory will be as follows:
"   - Vim (Linux/macOS): '~/.vim/plugged'
"   - Vim (Windows): '~/vimfiles/plugged'
"   - Neovim (Linux/macOS/Windows): stdpath('data') . '/plugged'
" You can specify a custom plugin directory by passing it as the argument
"   - e.g. `call plug#begin('~/.vim/plugged')`
"   - Avoid using standard Vim directory names like 'plugin'

" Make sure you use single quotes

" Shorthand notation; fetches https://github.com/junegunn/vim-easy-align
Plug 'junegunn/vim-easy-align'

" Any valid git URL is allowed
Plug 'https://github.com/junegunn/vim-github-dashboard.git'

" Multiple Plug commands can be written in a single line using | separators
Plug 'SirVer/ultisnips' | Plug 'honza/vim-snippets'

" On-demand loading
Plug 'scrooloose/nerdtree', { 'on':  'NERDTreeToggle' }
Plug 'tpope/vim-fireplace', { 'for': 'clojure' }

" Using a non-default branch
Plug 'rdnetto/YCM-Generator', { 'branch': 'stable' }

" Using a tagged release; wildcard allowed (requires git 1.9.2 or above)
Plug 'fatih/vim-go', { 'tag': '*' }

" Plugin options
Plug 'nsf/gocode', { 'tag': 'v.20150303', 'rtp': 'vim' }

" Plugin outside ~/.vim/plugged with post-update hook
Plug 'junegunn/fzf', { 'dir': '~/.fzf', 'do': './install --all' }

" Unmanaged plugin (manually installed and updated)
Plug '~/my-prototype-plugin'

" Initialize plugin system
" - Automatically executes `filetype plugin indent on` and `syntax enable`.
call plug#end()
" You can revert the settings after the call like so:
"   filetype indent off   " Disable file-type-specific indentation
"   syntax off            " Disable syntax highlighting
:wq 커맨드로 파일을 저장합니다.
coc.nvim 설치
vim 에서 코드 자동완성을 실행해 봅시다!!
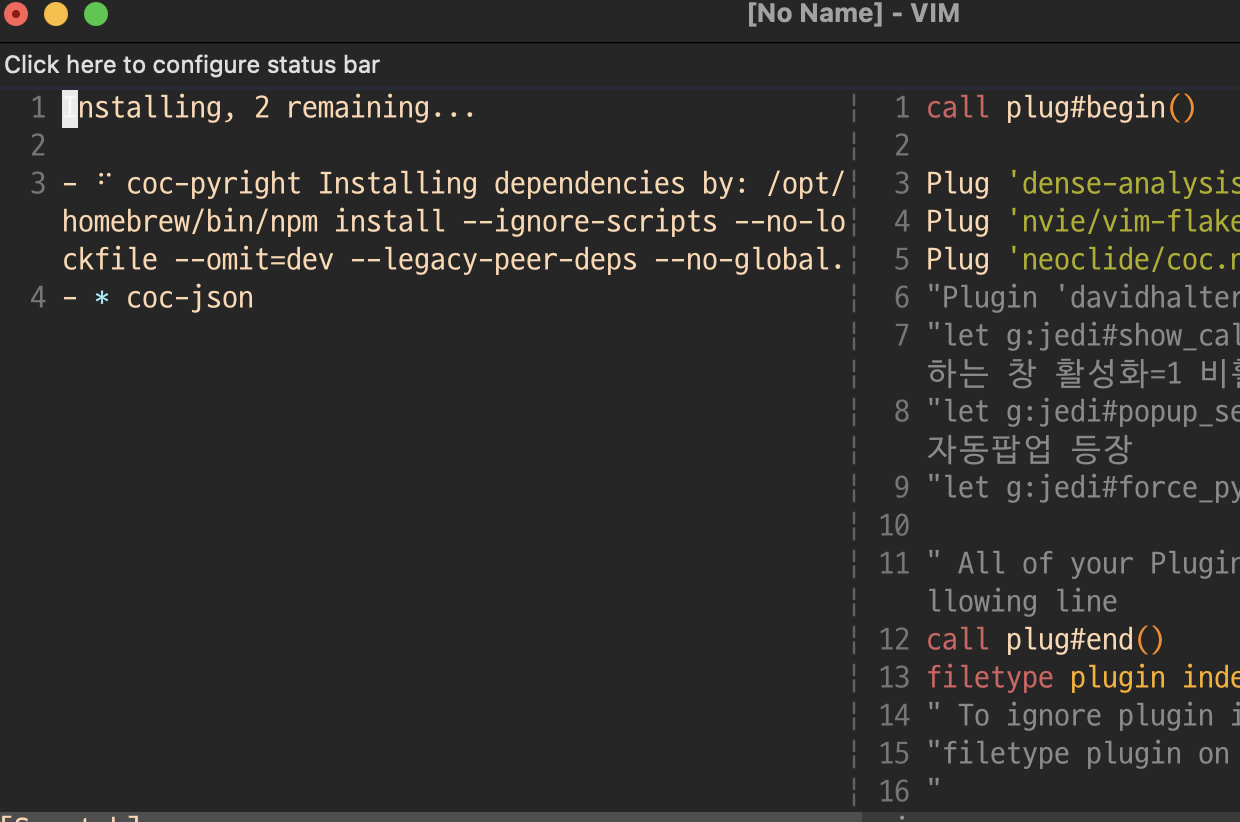
.vimrc 파일을 위와 같이 설정했다면 call plug#start()와 call plug#end() 사이에 nuclide/coc.nvim을 작성해 줍니다.
  1 call plug#begin()
  2
  3 Plug 'dense-analysis/ale'
  4 Plug 'nvie/vim-flake8' " python 문법 검사
  5 Plug 'neoclide/coc.nvim', {'branch': 'release'}
  6
  7 " All of your Plugins must be added before the following line
  8 call plug#end()
  9 filetype plugin indent on    " required
저는 위와 같이 작성했습니다!
이후vim 의normal mode에서 :PlugInstall 을 입력 후 enter를 치시면 작성한 plugin들이 설치됩니다.
이후 각 안어에 대한 설정을 해 줍니다.
아래 링크를 타고가시면 더 많은 언어들에 대한 설정을 보실 수 있습니다.
https://github.com/neoclide/coc.nvim/wiki/Language-servers#python
- python
:CocInstall coc-pyright coc-json- c
:CocInstall coc-clangd coc-json- java
:CocInstall coc-java coc-jsonpython
저는 python을 사용하기 위해 coc-pyright를 설치해 보겠습니다.
이후 설치가 완료되었으면 아래의 명령어로 설치를 확인 할 수 있습니다.
:CocList extensions
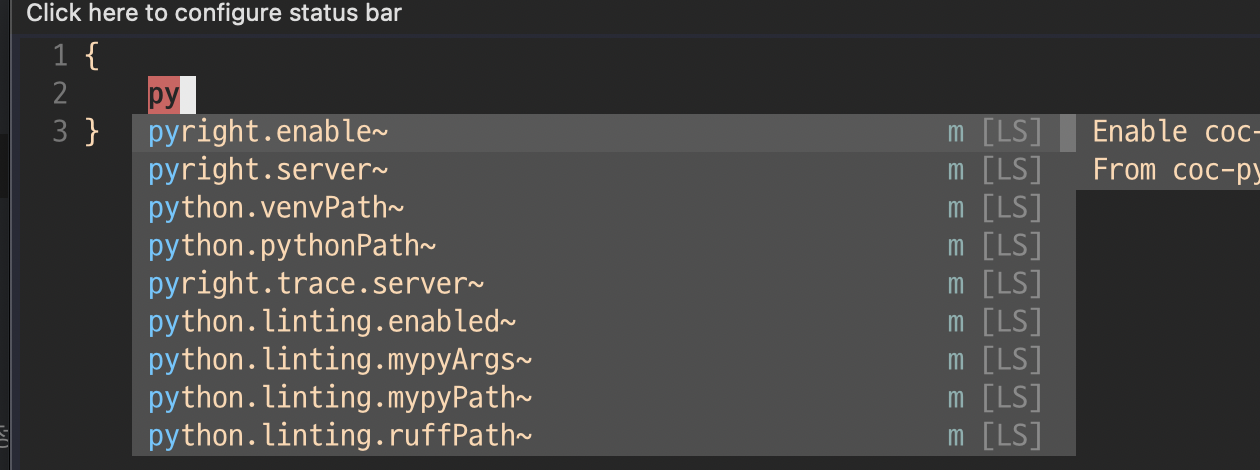
위와 같이 잘 설치가 되었다면 이제 :CocConfig 명령어로 ~/.vim/coc-settings.json 파일을 설정합니다.
python의 경우 따로 설치할 필요 없이 자동완성이 잘 진행되는 것을 확인할 수 있습니다.
java
그렇다면 자바도 동일한지 한번 확인해 보겠습니다.
vim normal mode에서 :CocInstall coc-java coc-json 실행시켜주고
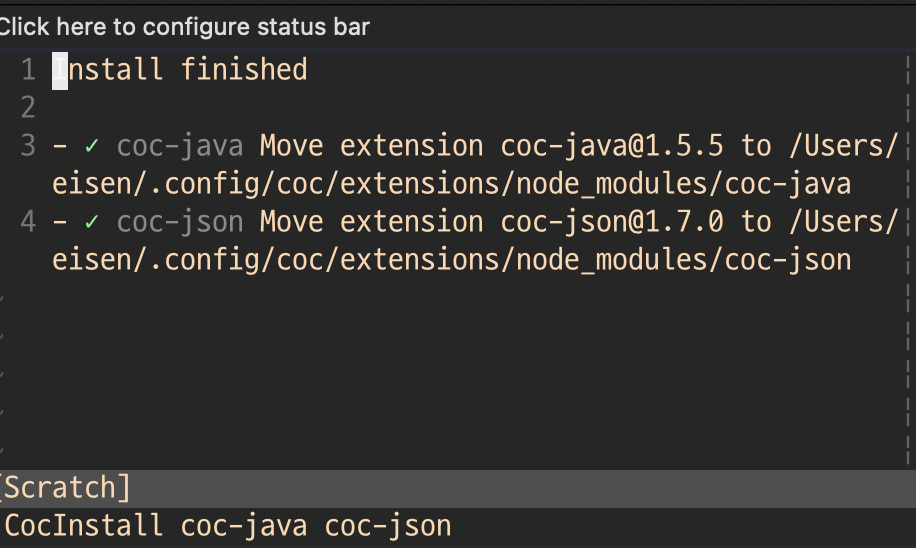
:CocList extensions 명령어로 설치 list 확인한 후

:CocConfig 명령어를 실행하면 ~/.vim/coc-settings.json 을 설정하는 화면이 나옵니다.
음... java도 동일하게 아무것도 작성하지 않아도 자동완성이 제대로 작동하네요.

2. ale 설치하기
다양한 기능을 제공하는 plugin입니다.
https://github.com/dense-analysis/ale
" Vundle.vim로 작성하셨다면!!!
" let Vundle manage Vundle, required
Plugin 'VundleVim/Vundle.vim'
Plugin 'dense-analysis/ale' " <-- 추가
" vim-plug를 사용하셨다면!!!
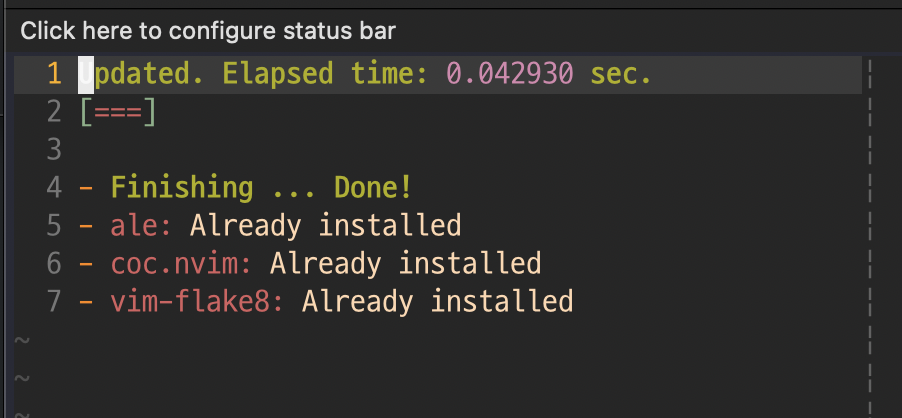
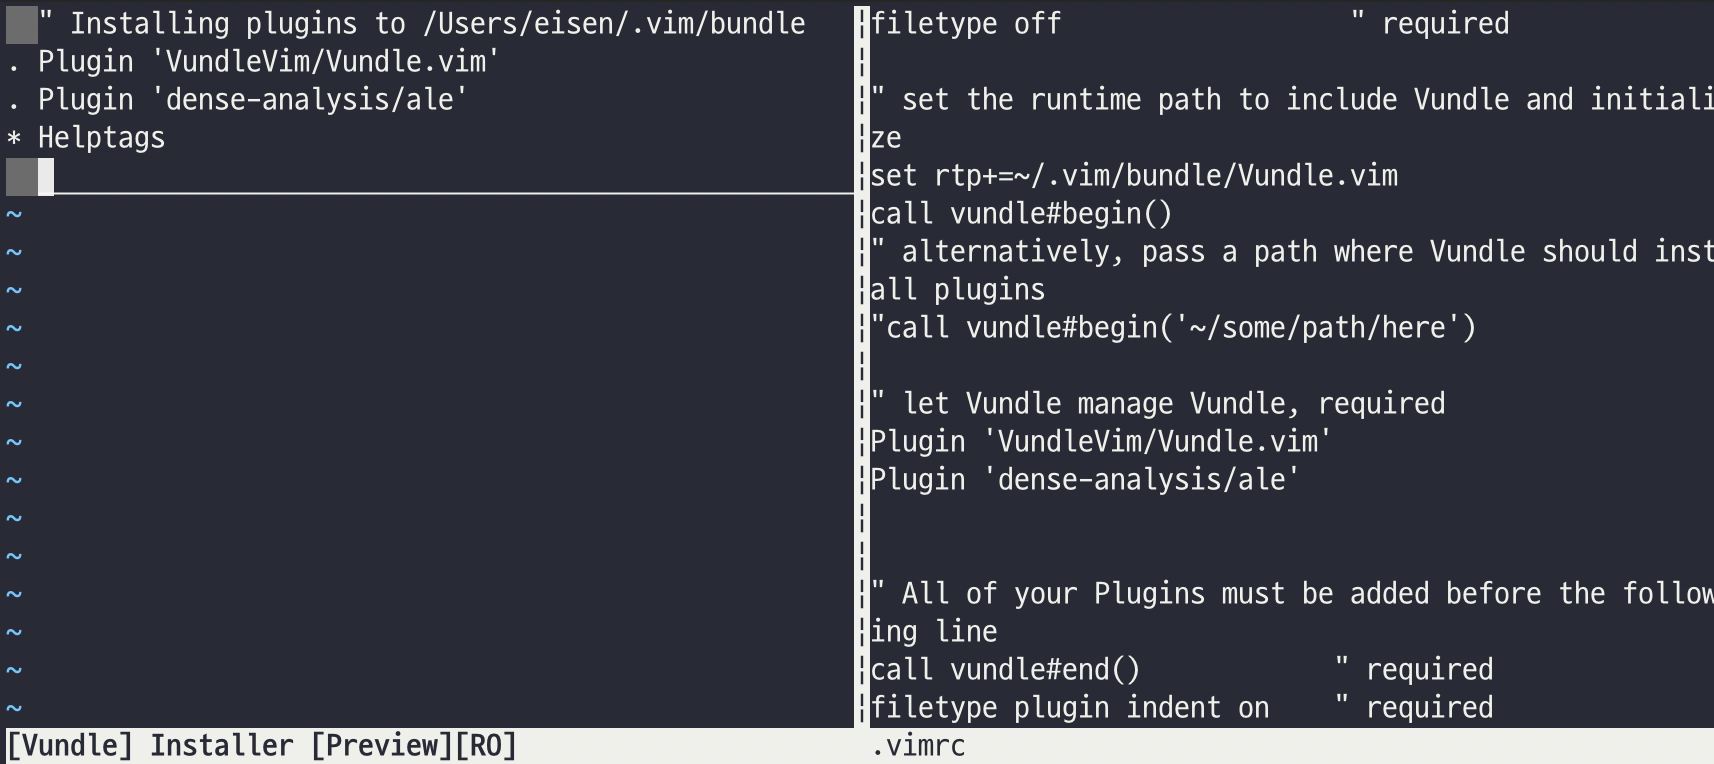
Plug 'dense-analysis/ale' " <-- 추가추가하신 후 :wq로 나갔다가 다시 들어와서 :PluginInstall(Vundle), :PlugInstall(vim-plug) 명령어를 입력해야 dense-analysis/ale이 설치됩니다.
3. vim-flake8 설치하기
https://flake8.pycqa.org/en/latest/index.html
https://github.com/nvie/vim-flake8
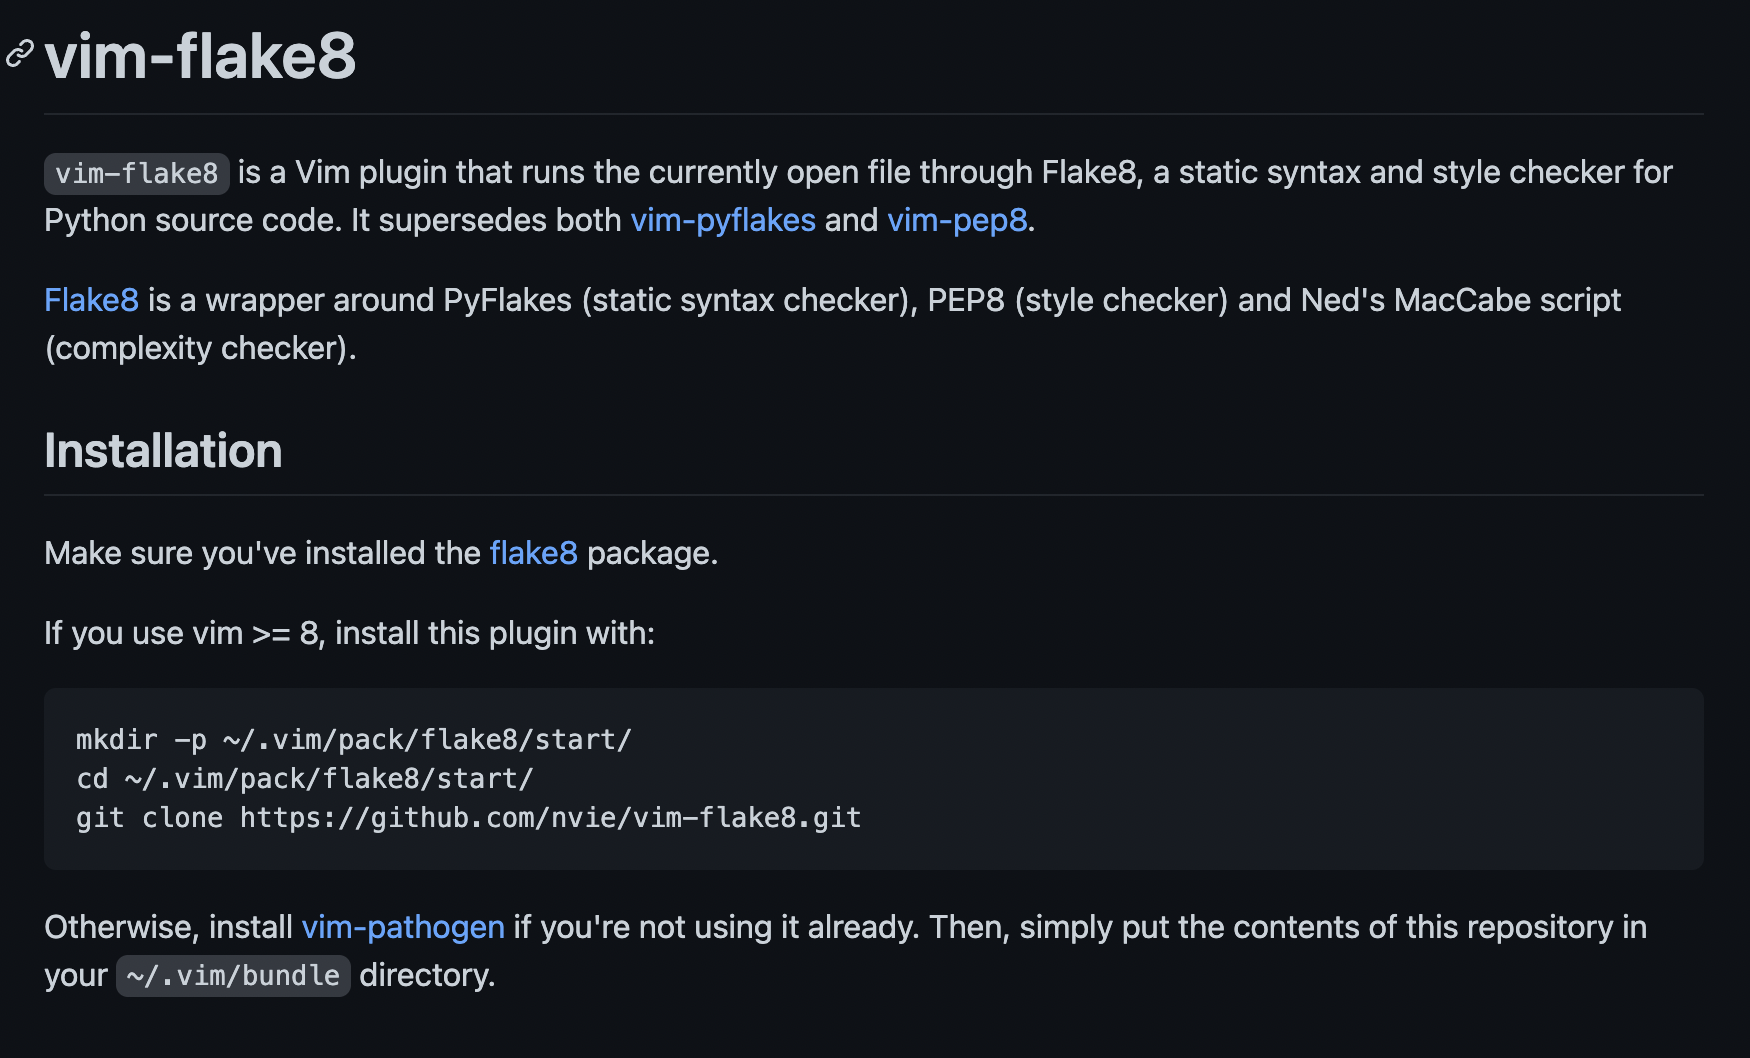
installation을 따라 해 봅니다.
mkdir -p ~/.vim/pack/flake8/start/
cd ~/.vim/pack/flake8/start/
git clone https://github.com/nvie/vim-flake8.git
그 후 Plug 'nvie/vim-flake8'을 작성한 후 :wq로 파일을 저장합니다.
$ vim +PlugInstall +qallterminal에서 위의 명령어를 실행해도 됩니다.(vim의 normal mode에서 :PlugInstall 하셔도 됩니다.)
  1 all plug#begin()
  2
  3 Plug 'dense-analysis/ale'
  4 Plug 'nvie/vim-flake8' " python 문법 검사
  5 Plug 'neoclide/coc.nvim', {'branch': 'release'}
  6
  7 " All of your Plugins must be added before the following line
  8 call plug#end()
  9 filetype plugin indent on    " required
제 .vimrc는 위와 같이 설정되었습니다.
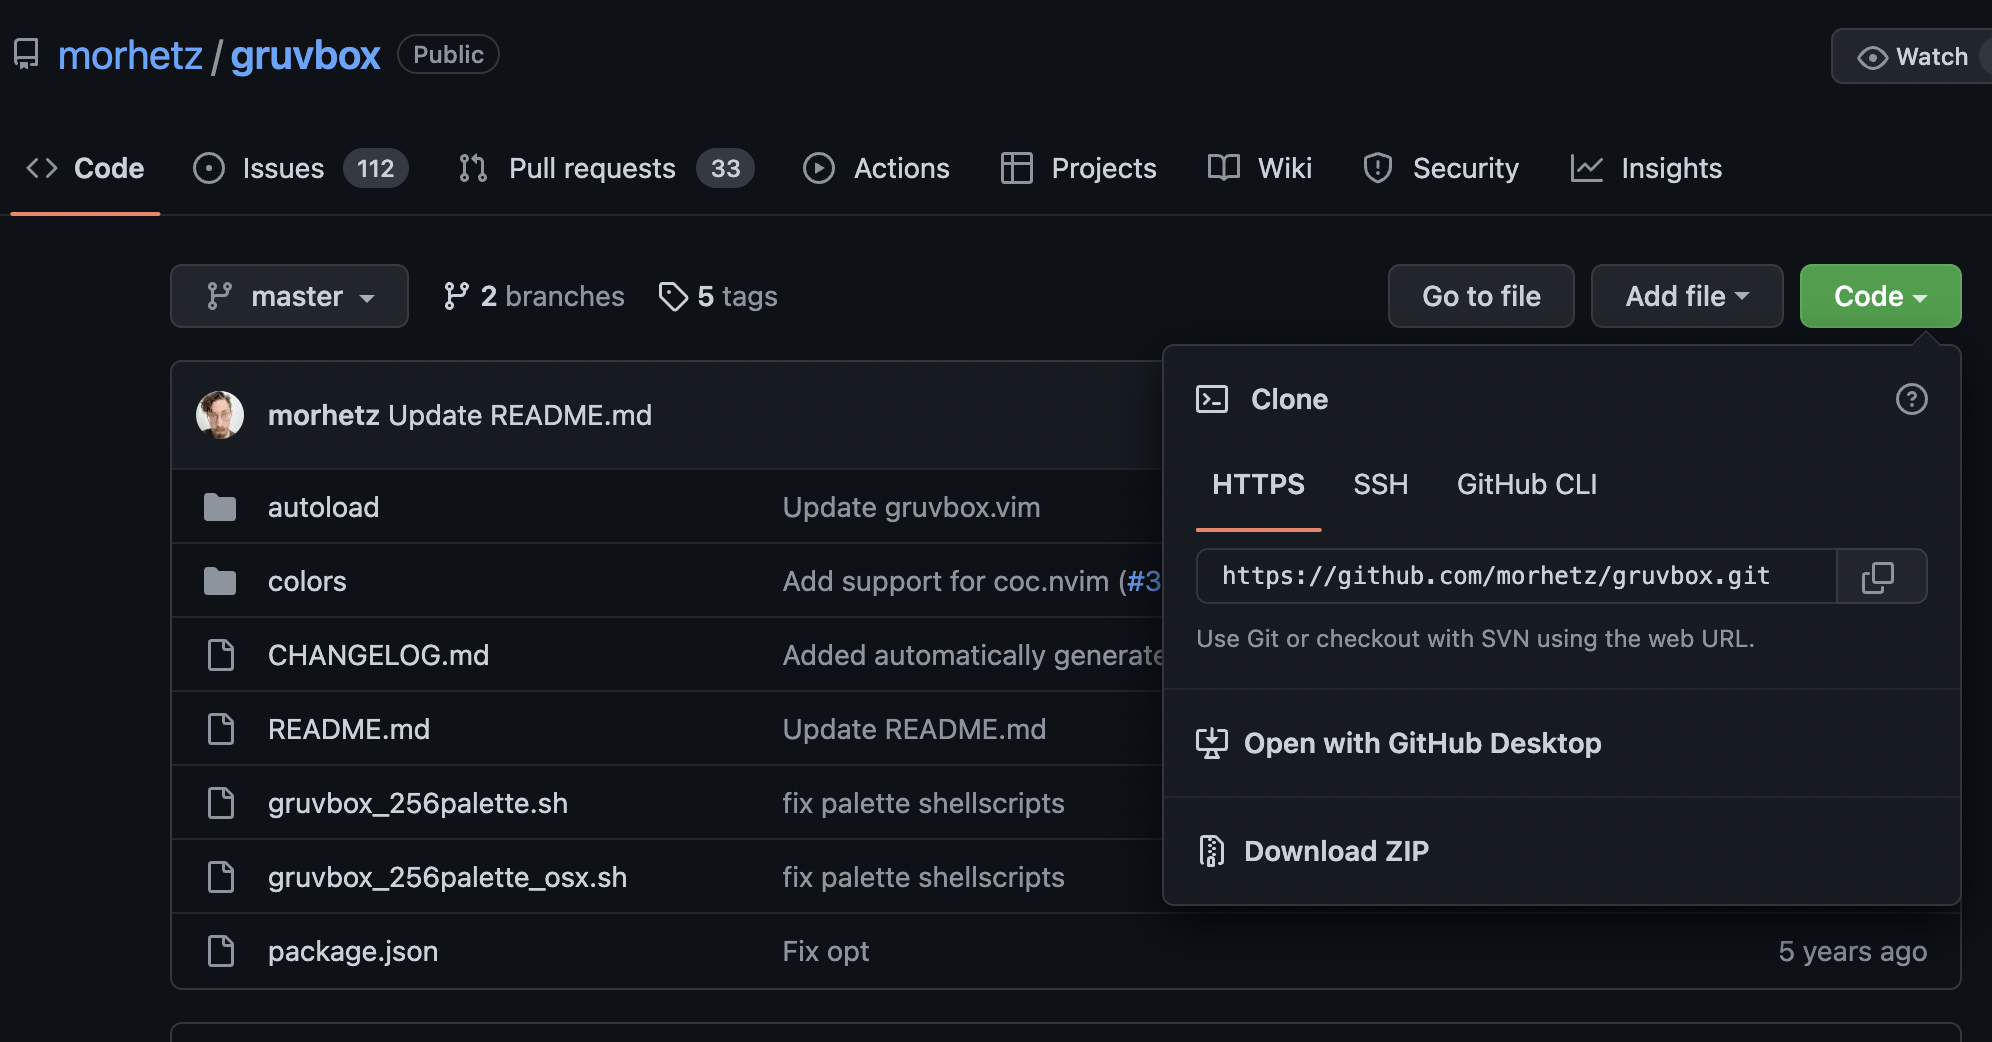
4. vim scheme 설정하기
하단의 사이트에서 다양한 vim scheme을 보실 수 있습니다. 저는 그 중에서 가장 많이 다운받은 gruvbox를 설치했습니다.
https://github.com/morhetz/gruvbox
다운받은 colors 파일을 .vim/colors에 옮깁니다.
cp ../gruvbox/colors/* ./colors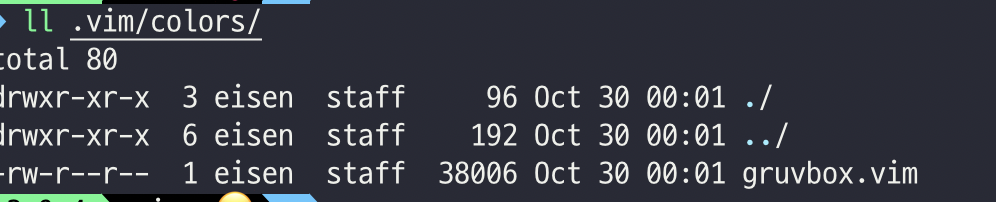
그 후 .vimrc 파일에 colorscheme gruvbox를 작성해 줍니다.(전문 하단 참고)
colorscheme gruvbox아래처럼 scheme 잘 적용된 것을 확인할 수 있습니다.
제 최종적인 .vimrc 설정입니다. 필요하시다면 가져가셔도 됩니다.
  1 call plug#begin()
  2
  3 Plug 'dense-analysis/ale'
  4 Plug 'nvie/vim-flake8' " python 문법 검사
  5 Plug 'neoclide/coc.nvim', {'branch': 'release'}
  6
  7 " All of your Plugins must be added before the following line
  8 call plug#end()
  9 filetype plugin indent on    " required
 10 " To ignore plugin indent changes, instead use:
 11 "filetype plugin on
 12
 13
 14 " Put your non-Plugin stuff after this line
 15
 16 syntax on
 17
 18 set t_Co=256
 19
 20 colorscheme gruvbox
 21
 22 set foldmethod=indent
 23
 24 set foldlevel=99
 25
 26 nnoremap <space> za
 27
 28 au BufNewFile, BufRead *.py
 29     \ set tabstop=4
 30     \ set softtabstop=4
 31     \ set shiftwidth=4
 32     \ set textwidth=79
 33     \ set expandtab
 34     \ set autoindent
 35     \ set fileformat=unix
 36
 37 let g:ale_linters = {'python': ['flake8']}
 38
 39 set number
 40
 41 set tabstop=4
 42 set shiftwidth=4
긴 글 읽느라 고생 하셨습니다. 만약 잘 궁금하신 점이나 잘못된 점이 있다면 언제든지 댓글 남겨주시기 바랍니다.
감사합니다. 모두 vim으로 즐거운 코딩 하시길 바랍니다.
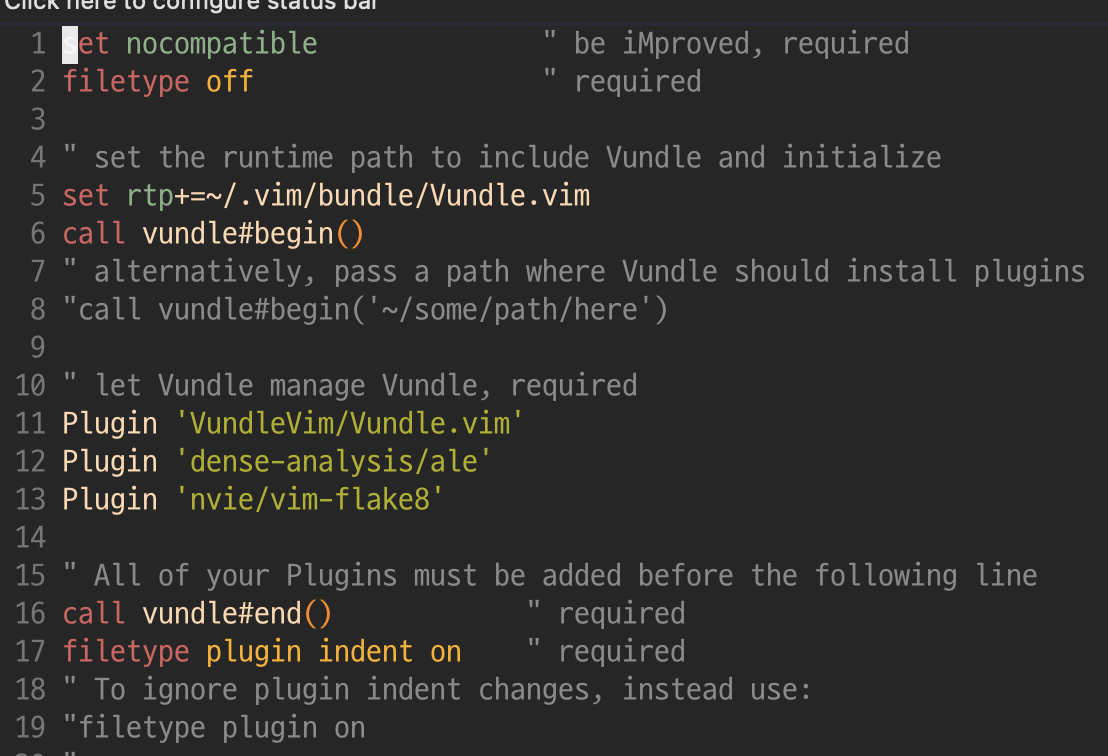
번외_Vundle 사용하기
https://github.com/VundleVim/Vundle.vim
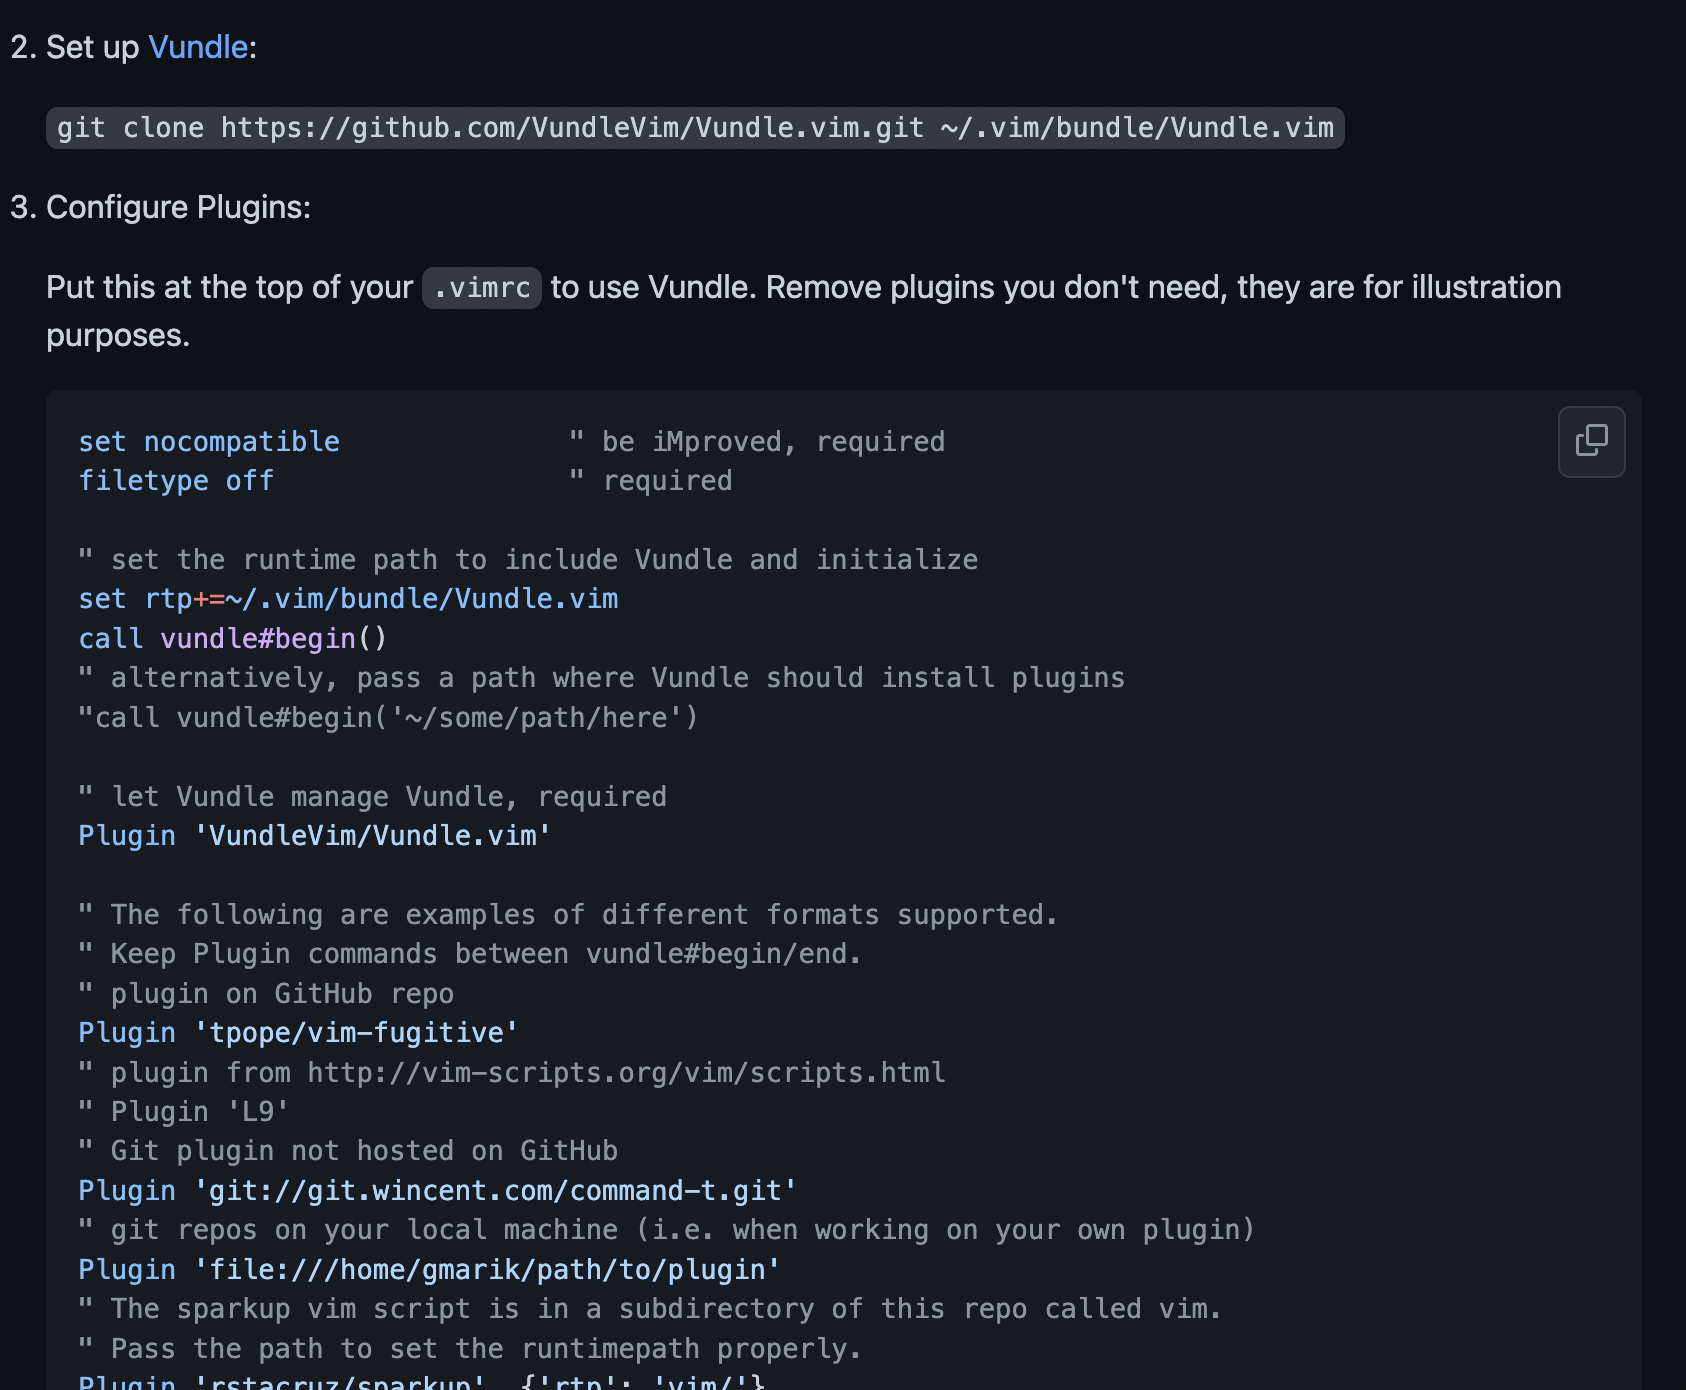
상단에 적혀있는대로 따라 작성해 봅니다.
$ vim ~/.vimrc.vimrc 파일을 수정합니다.
set nocompatible              " be iMproved, required
filetype off                  " required

" set the runtime path to include Vundle and initialize
set rtp+=~/.vim/bundle/Vundle.vim
call vundle#begin()
" alternatively, pass a path where Vundle should install plugins
"call vundle#begin('~/some/path/here')

" let Vundle manage Vundle, required
Plugin 'VundleVim/Vundle.vim'

" All of your Plugins must be added before the following line
call vundle#end()            " required
filetype plugin indent on    " required
" To ignore plugin indent changes, instead use:
"filetype plugin on
"
" Brief help
" :PluginList       - lists configured plugins
" :PluginInstall    - installs plugins; append `!` to update or just :PluginUpdate
" :PluginSearch foo - searches for foo; append `!` to refresh local cache
" :PluginClean      - confirms removal of unused plugins; append `!` to auto-approve removal
"
" see :h vundle for more details or wiki for FAQ
" Put your non-Plugin stuff after this line
References
https://github.com/morhetz/gruvbox
https://www.youtube.com/watch?v=HKJUILUvkGk
https://github.com/VundleVim/Vundle.vim
https://github.com/dense-analysis/ale
'Tools' 카테고리의 다른 글
| [intellij] Intellij Tomcat 설정하기 (0) | 2022.12.13 |
|---|---|
| [intellij] Intellij SVN 연결하기 (0) | 2022.12.13 |
| [IntelliJ] 외부모듈(JAR)의 class 파일 코드가 compiled code로 표기되는 현상 (1) | 2022.09.26 |
| [IntelliJ] Editor Tab 한개만 사용하기 (0) | 2022.09.02 |
| [Notion] 노션에서 git repo 모아보기 (1) | 2022.04.16 |